

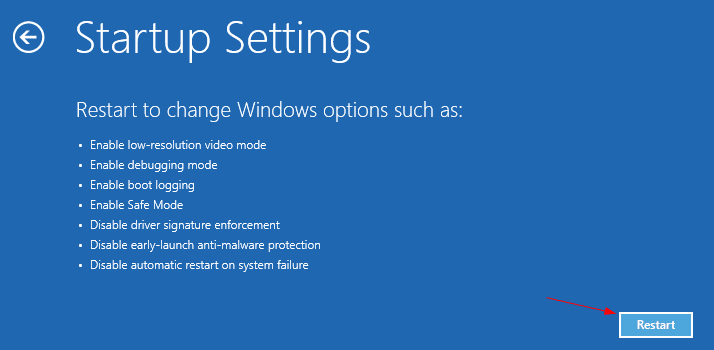
Windows 10’s Startup Settings boot menu has quite a few weapons that you can use to help your troubleshooting process, such as Boot to Safe Mode, Enable debugging, Disable driver signature enforcement, etc. But getting to that menu takes quite a few steps. You need to boot to Windows 10’s Advanced Boot Option first, then go to Troubleshoot option, select Advanced options where you can choose to boot to Startup Settings.
If you need to do this quite often, why not set it up so that your Windows 10 computer boots right to it automatically?
Here is how you can do it.
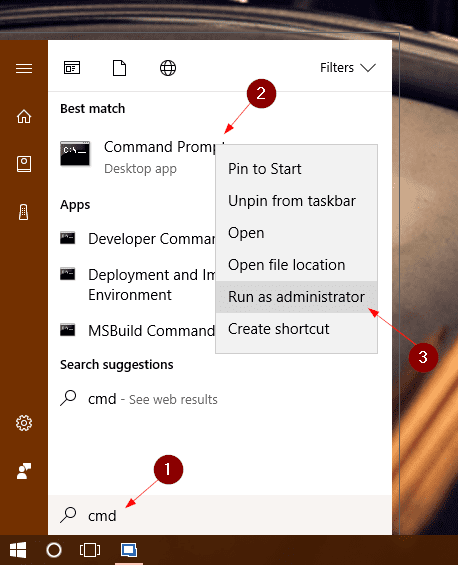
Open up an elevated command prompt window (Run as Administrator),
Type the following command that sets the boot sequence to always pop up the Startup Settings Menu before the actual boot takes place.
bcdedit /set {globalsettings} advancedoptions true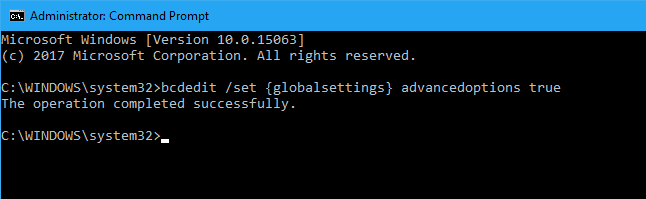
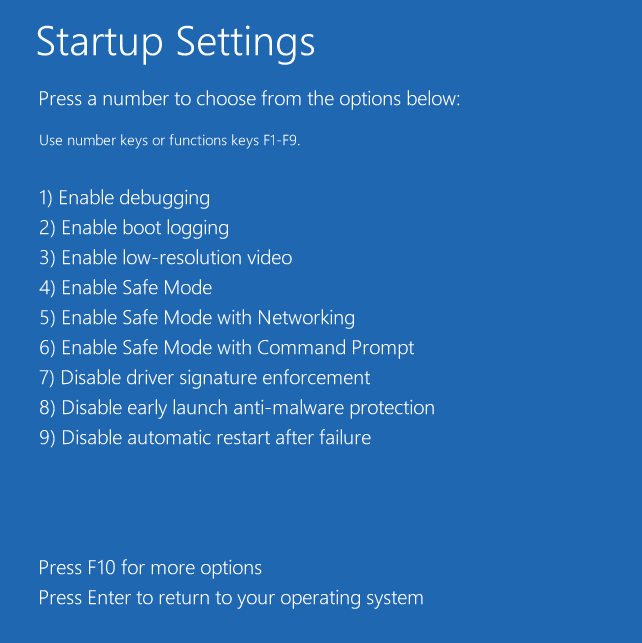
Now, next time you boot your computer, the following Startup Settings boot menu will pop up first, waiting for you to choose which option to go. Press Enter to go ahead with the normal boot process.
To disable Startup Settings boot menu from auto-load, run the following command in an elevated command prompt window.
bcdedit /set {globalsettings} advancedoptions falseBonus tip
How about boot to a legacy way that works in Windows 7? Simply run the following command in an elevated command prompt window.
bcdedit /set {default} bootmenupolicy legacy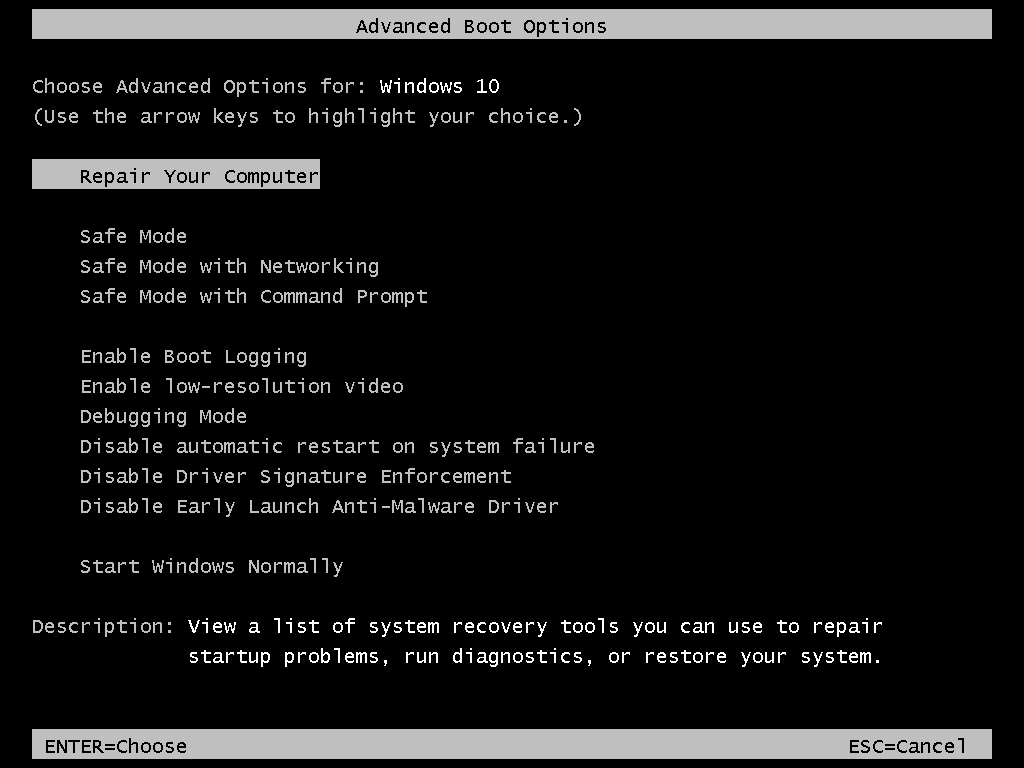
To restore the boot menu in Windows 10 way, run the following command.
bcdedit /set {default} bootmenupolicy standard