Windows 11
Latest Articles
How to Fix YouTube Not Playing Videos in Windows 11
Using an alternative browser when YouTube is not playing videos in Windows 11 may save you further troubleshooting. However, the steps below...
Best Fixes When VLC is Not Playing MKV Files in Windows...
Converting the MKV files to a different format should save you further troubleshooting; however, if you must use VLC media player, try...
Screen Zoomed In on Windows 11: Top Fixes
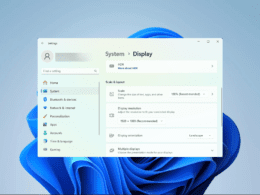
While using your Windows 11 device, you may experience a zoomed-in screen. While there may be multiple causes of this problem, the...
How to Disable USB Ports on Windows 11: Top Ways
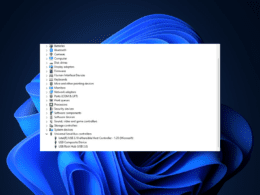
USB ports make your computer more accessible. You may use them to transfer files or extend connections to other devices. However, there...
Windows 11 Desktop Refresh Option Not Working: Best Fixes
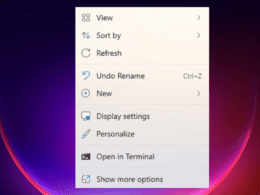
When you right-click on your Windows desktop, you should see a context menu option to refresh the screen. However, some users have...
Unable to Run EXE Files on Windows 11: Fixed
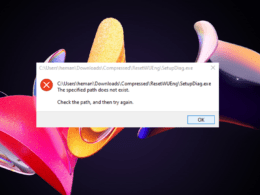
An exe file is a program or executable file on Windows computers. When you double-click on these files, Windows tries to run...
How to View Applied Group Policies for Your Windows 11 Device
You may do a lot with the Group Policy, including managing the browser. Are you trying to view applied group policies for...


