

The Start menu is an essential part of the Windows 11 operating system. You will need it to launch applications, access system functions, find recently used items, and more. When the Windows 11 Start menu is not working, it dampens the user experience.
Some common problems users have complained about include:
- Windows 11 Start menu search not working
- Windows 11 Start menu not working after update
- Start menu won’t open
- Missing Windows 11 Start menu
- Start menu opens but crashes
- Windows 11 Start menu not working
This guide explores how to resolve these problems. Let us get to it.
1. Restart Windows Explorer
Restarting Windows Explorer will be an effective fix because it will refresh various related graphical elements, reload all necessary resources, and fix an unresponsive UI.
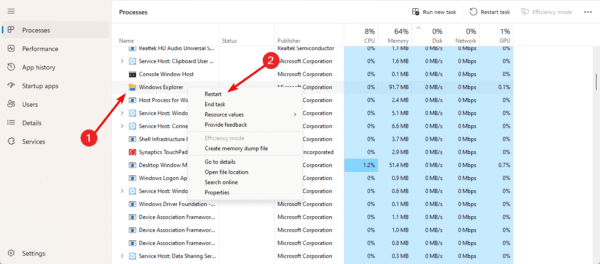
1. Press Ctrl + Shift + Esc to open the Task Manager.
2. Right-click Windows Explorer and click the Restart option. You may have to pause Task Manager updates to find Windows Explorer.
2. Restart Windows Background Services
When you have a non-functioning Start menu in Windows 11, restarting certain background services will fix the problem since they are directly involved in running the Start menu and its features.
1. Press Ctrl + Shift + Esc to open the Task Manager.
2. Click the Details tab on the left pane, right-click StartMenuExperienceHost.exe, and click the End task option. The process should restart automatically.
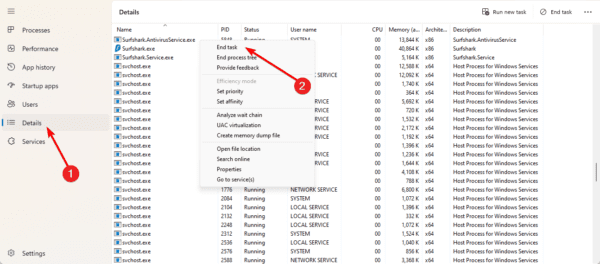
3. End the following processes as well.
- SearchHost.exe
- SearchIndexer.exe
- RuntimeBroker.exe
3. Uninstall Windows Update
Some users have complained that the Windows 11 Start menu is not working after an update. If this is the case, you may have installed a buggy update and will need to uninstall it.
1. Press Windows + I to open the Settings app.
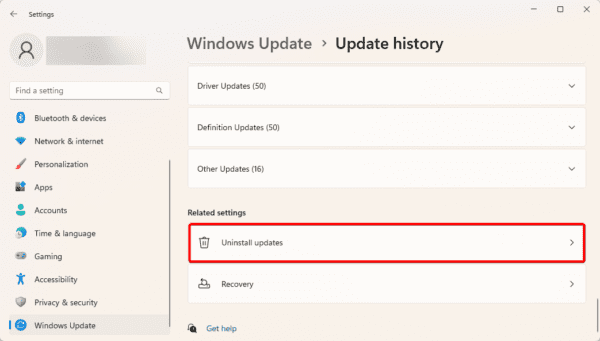
2. Click Windows update on the left pane, then click Update history on the right.

3. Click Uninstall updates.
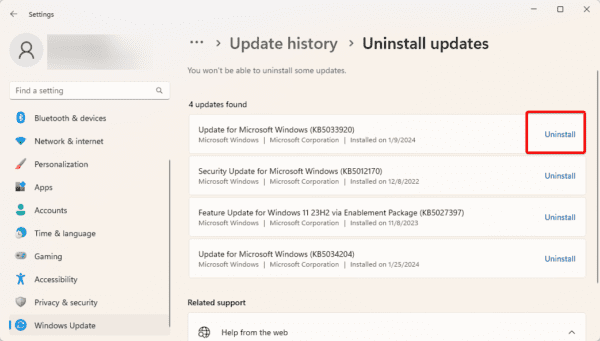
4. Click the Uninstall option for your most recent update.
4. Rebuild the Windows Search Index
The database that Windows uses to find files and information on your computer must be recreated to rebuild the Windows Search Index. This can be useful in several circumstances, such as when the Start menu search isn’t operating correctly.
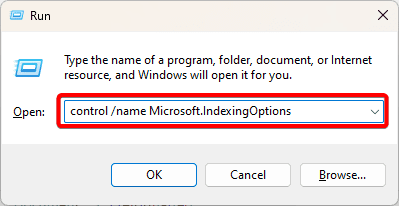
1. Press Windows + R, enter the command below and hit Enter.
control /name Microsoft.IndexingOptions
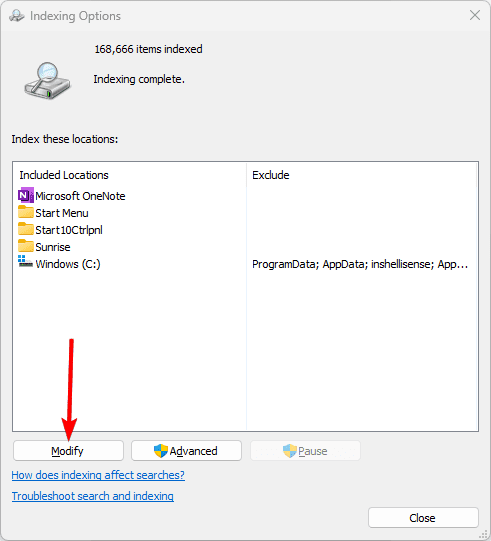
2. Click the Modify button.
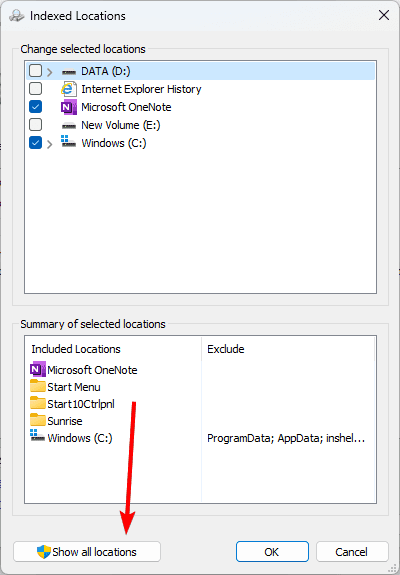
3. Click Show all locations.
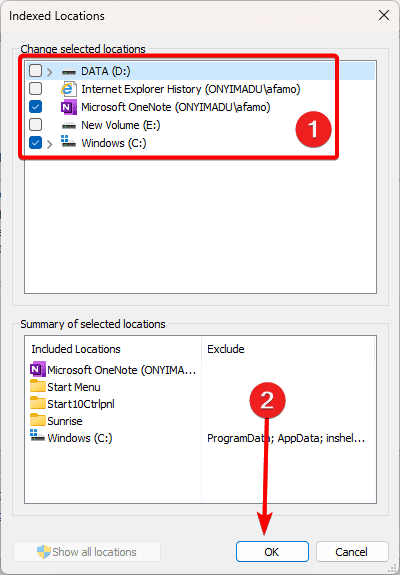
4. Uncheck all your locations, then click the OK button.
5. Click the Advanced button.

6. Click the Rebuild button, then click OK.

7. At the end of the process, restart your computer.
5. Run the DISM and SFC Scans
File corruption is a common cause of Start menu malfunction in Windows 11. You may run the DISM and SFC scans to fix corruption in the system and installation files.
1. Launch the Run dialog by pressing Windows + R.
2. Type cmd and hit Ctrl + Shift + Enter to open an elevated Command prompt.

3. Type the command below and hit Enter to scan for Image errors.
DISM /Online /Cleanup-Image /ScanHealth

4. Type the command below and hit Enter to fix all discovered image errors.
DISM /Online /Cleanup-Image /RestoreHealth
5. Rund the command below to fix corrupted system files on the computer.
sfc /scannow

6. Re-Register the Start Menu Shell Experience Packages
Re-registering the Start menu Shell Experience Packages refreshes the internal registration of system files that power the Start menu. Occasionally, when the Start menu is malfunctioning, this might resolve the problem.
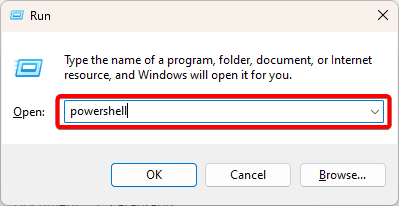
1. Press Windows + R to open the Run dialog.
2. Type PowerShell, then hit Ctrl + Shift + Enter.
3. Type the command below and hit Enter.
Get-AppxPackage Microsoft.Windows.ShellExperienceHost | Foreach {Add-AppxPackage -DisableDevelopmentMode -Register "$($_.InstallLocation)\AppXManifest.xml"}7. Update the Graphics Drivers
The graphics card controls graphic components and its driver helps communication between this hardware device and the OS. When the driver is outdated, you may notice the Start menu is not working on Windows 11.
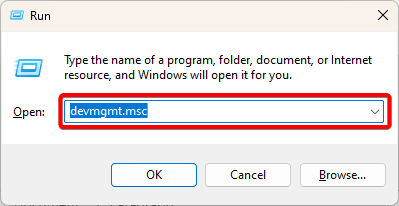
1. Press Windows + R to open the Run dialog.
2. Type devmgmt.msc and hit Enter.
3. Expand the Display adapters category, right-click on your driver, and select Update driver.

4. Select Search automatically for updates.

5. Follow the wizard to complete the update.
Regain Start Menu Functionality
The solutions we have covered in this guide are all you need to do to regain Start menu functionality.
We have not written them in any particular order, so you may start with the most appropriate solutions.