

You must have encountered the Windows Search Indexer if you use a Windows computer. The most common use case is performing a Windows search from the Start menu or Windows Explorer.
A few people also encounter it because of a certain Windows Search Indexer’s high CPU usage. In this guide, we talk about this service, helping you understand all it is and its function on your computer.
What is the Windows Search Indexer?
Windows Search Indexer is a background process on a Windows device that enables you to quickly locate files and other content.
It performs its task by creating a database that comprises your system’s file instructions. This information often includes:
- File names
- File contents (for some file types)
- Metadata (e.g., date created, file type)
- Location
The services in the C:\Windows\System32 path as searchindexer.exe.
Advantages of Using Search Indexer
- Faster searches: Once your index is built, you will have significantly reduced times when searching for any content, including files and emails.
- More accurate results: Windows Search Index ensures you find relevant files even when you don’t recollect the exact file name or location.
- Supports various file types: You are not limited in the file types it can locate. So, from documents and emails to photos and music, the list is endless.
Drawbacks of the Search Indexer
- Resource usage: Because building and maintaining the index is resource-intensive, you may experience a performance drop, especially on older or low-powered machines.
- Privacy concerns: The index will store some of your information, which may concern some users.
How to Manage the Search Index
You may achieve a lot of configuration and customization with the Windows Search Index. Here are a few:
How to Access Indexing Options
There are three ways to access the Indexing Options on Windows 11.
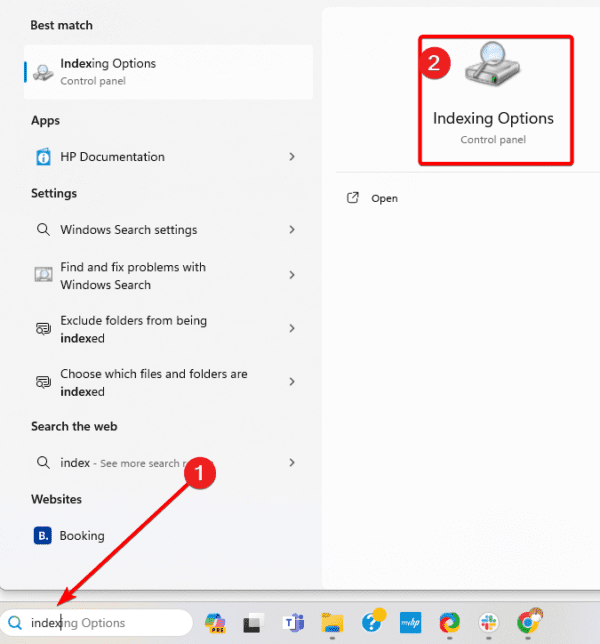
1. From the Start menu
Click the magnifying lens of the Start menu, type index, and click Indexing Options.
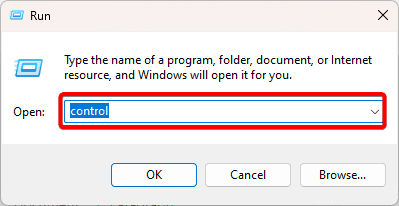
2. From the Control Panel
1. Press Windows + R, type control, and hit Enter.
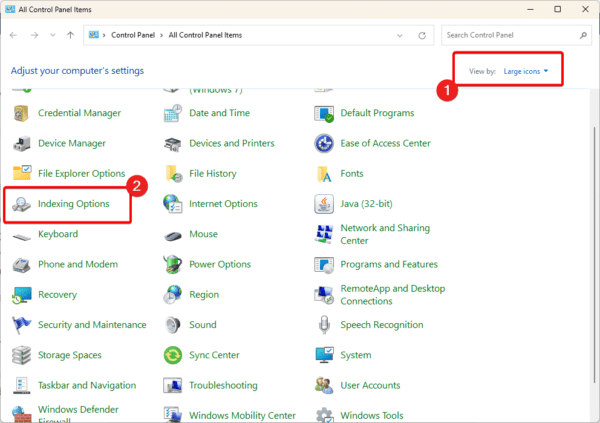
2. Set View by to Large icons and click Indexing Options.
3. From the Settings App
1. Press Windows + I to open the Settings app.
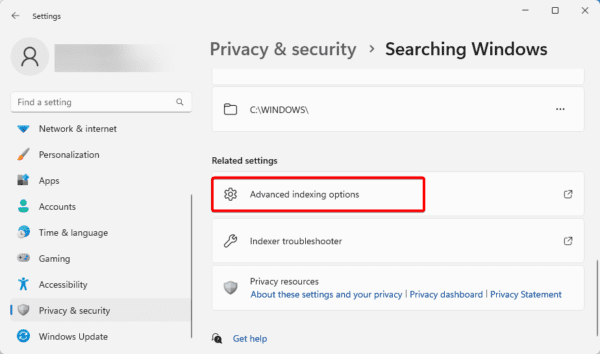
2. On the left pane, click Privacy & security, then click Searching Windows.
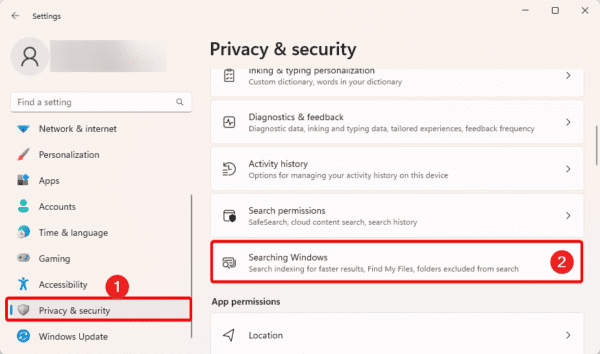
3. Scroll down and click Advanced Indexing options.
How to Add and Remove Locations to be Indexed
The Windows Search Indexer is the backbone of a Windows computer’s search functionality. You may add locations, exclude specific content, and use other advanced features.
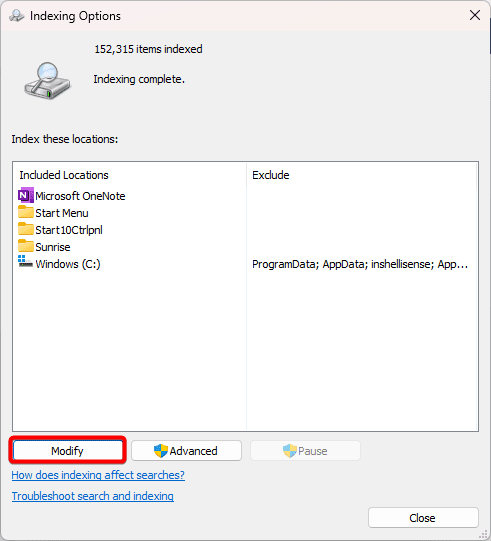
1. Launch Indexing options using any of the methods we shared above,
2. Click the Modify button.
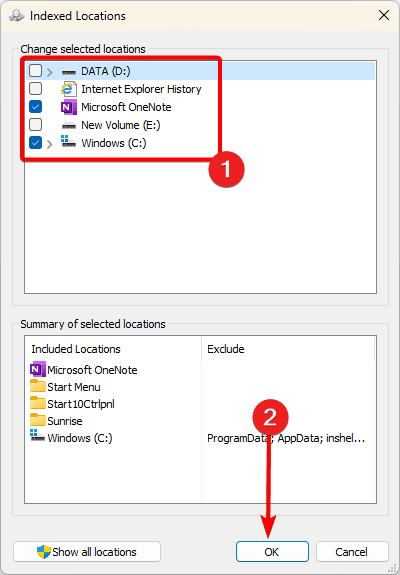
3. To include a location, tick it in the Change selected locations section or uncheck it to exclude it.
How to Disable or Enable Windows Search Index
If you believe Windows Indexing is using up so many system resources, you may opt to disable it. You should, however, note that when disabled, you will lose all its advantages and will experience slow and inaccurate searches.
Disable Windows Search Indexer
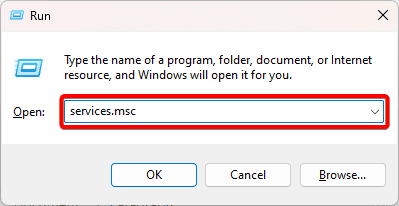
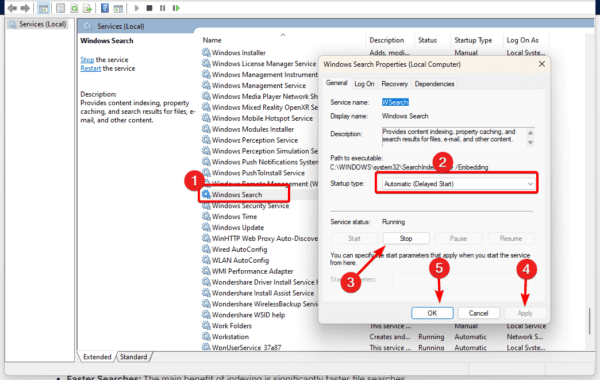
1. Press Windows + R, type services.msc, and hit Enter.
2. Double-click Windows Search, Set Startup type to Manual, click Stop, then Apply and OK.
Enable Windows Search Indexer
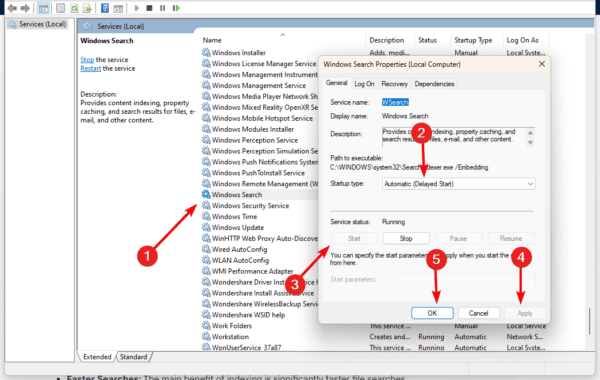
1. Press Windows + R, type services.msc, and hit Enter.
2. Double-click Windows Search, Set Startup type to Automatic, click Start, then Apply and OK.
Fast Searches on WIndows11
You must enable the Windows Search Indexer utility to access faster and more efficient searches on Windows 11. You will find it a general way to improve the user experience on Windows devices.
Have you used Search indexer? Let us know your thoughts in the comment section below.
FAQ
While actively building the index, it may use a lot of system resources.
It stores details about your files which may be a privacy concern for some users.