

On Windows 11, you have a setting called Remove recommended section from Start menu, and many users have complained that it is not working. You should no longer get Start menu recommendations when this setting is enabled.
Sometimes, this setting stops working after a Windows update. In this guide, we have explored the problem and will show you some of the best solutions. Let us get to it.
1. Enable Remove Recommended Section from Start Menu in Local Group Policy
For many users, they may actually not have enabled this option in the local group policy. Note that the option exists for Computer Configuration and User Configuration, and both should be enabled. Follow the steps below.
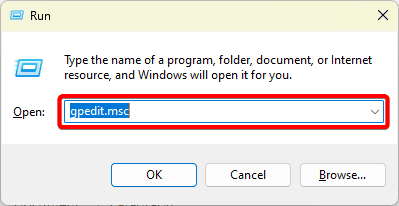
1. press Windows + R to open the Run dialog.
2. Type gpedit.msc and hit Enter to open the Local Group Policy.
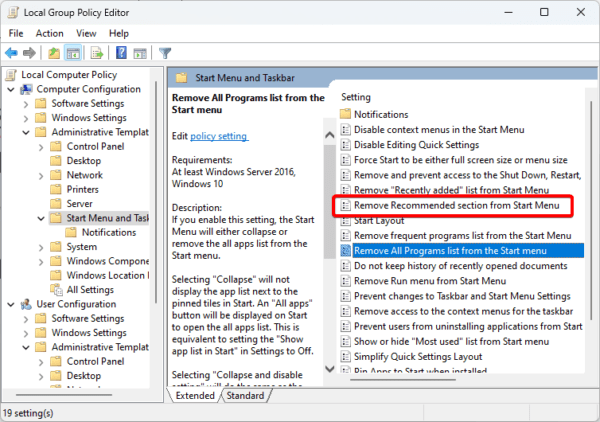
3. Navigate Computer Configuration > Administrative Templates > Start Menu and Taskbar.
4. On the right pane, double-click Remove Recommended Section from Start Menu.
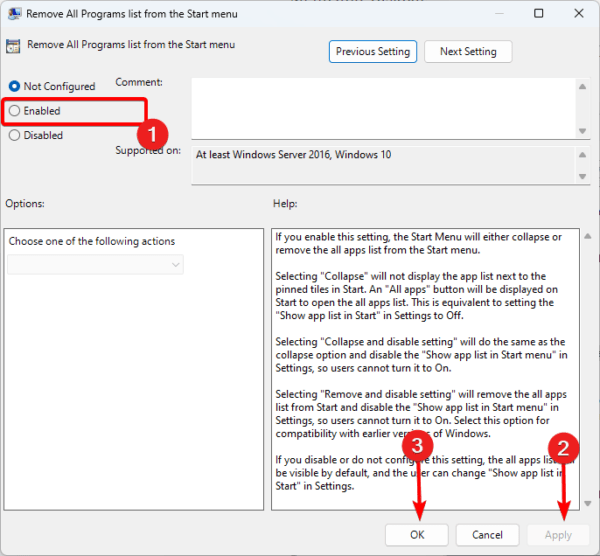
5. Select Enabled, click Apply and OK, then close the Windows.
6. Navigate User Configuration > Administrative Templates > Start Menu and Taskbar, then follow the same process in steps 4 and 5.
2. Update Start Menu from the Settings App
When the Windows 11 Remove recommended section from Start menu is not working, and you are positive it is enabled in the Local Group Policy, you should turn off some Start menu setting options in the Settings app.
1. Press Windows + I to open the Settings app.
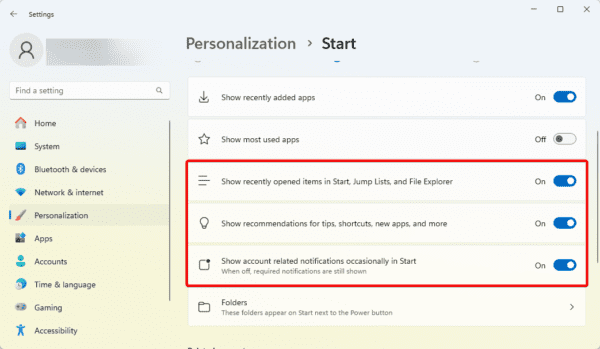
2. Click Personalization on the left pane, then on the right, click Start.

3. Toggle off the following options:
- Show recently opened items in Start, Jumps Lists, and File Explorer.
- Show recommendations for tips, shortcuts, new apps, and more.
- Show account related notifications occasionally in Start.
3. Update Default Display Scaling
Some users have complained that Windows 11 remove recommended section from Start menu is not working after they updated the operating system. This may be the case because the default calling changed. Follow the steps below to update your default scaling.
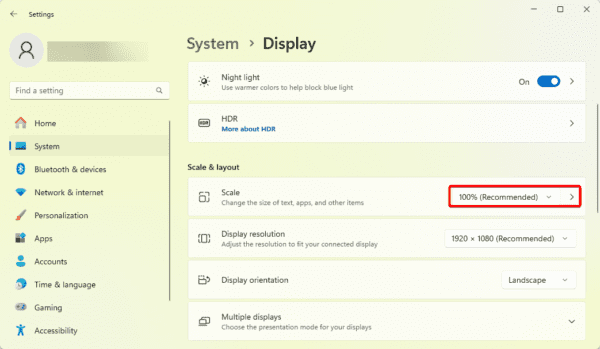
1. Press Windows + I to open the Settings app.
2. Click System on the left pane, then on the right, click Display.
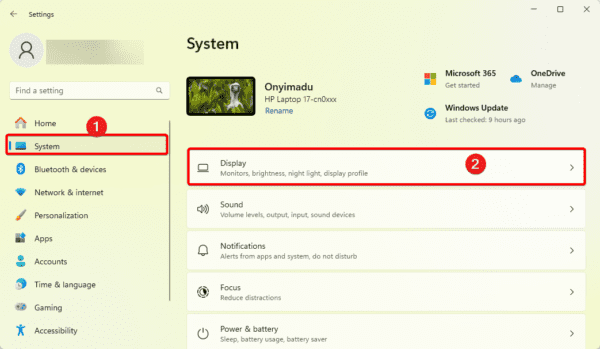
3. If the scale is not set to recommended, change it to any value that has Recommended.
4. Create a New User Account
Creating a new user account may be the only possible solution when Windows 11 Remove recommended section from Start menu is not working. This is especially a possibility when the user account is corrupted.
1. Press Windows + I to open the Settings App.
2. Click the Accounts option on the left pane, then on the right, click Other users.

3. Click the Add account button.

4. Click the I don’t have this person’s sign-in information option.

5. Click the Add user without a Microsoft account option.

6. Fill out the form with your desired username and password, then click next.

7. Click Change account type for the newly created account.

8. Select Administrator and click OK.

Fixing the Windows 11 Recommendation Issue
most readers who have complained about the problem started having it when they updated the operating system. You must not that this is not uncommon since updates often add features to your computer. Regardless of how or when the problem started, it would be best to resolve it following the instructions above.
You may also consider other solutions if the Start menu is not working.
FAQ
Microsoft’s algorithms and your usage habits determine what programs, files, and other items should be shown in the Recommended area of the Windows 11 Start Menu. Its goal is to give consumers easy access to frequently used or pertinent products.
You may not get a lot of customization options for the Start menu recommendation. However, the Start settings in the Settings app may offer minimal help.